Thursday 30 March 2017

Day 14 - Rosette perfling and start making lattice bracing for soundboard

I put the soundboard through the thinning machine.


I cut grooves for the perfling.


I checked the the perfling would fit the grooves.


I glued the perfling into place.


I mixed rosewood dust and epoxy to fill and gaps in the rosette.


I cut lengths of 3mm spruce on the band saw.


I measured the spruce strips and numbered each joint.


I laid out all the pieces of the lattice to ensure all the measurements were numbered correctly.


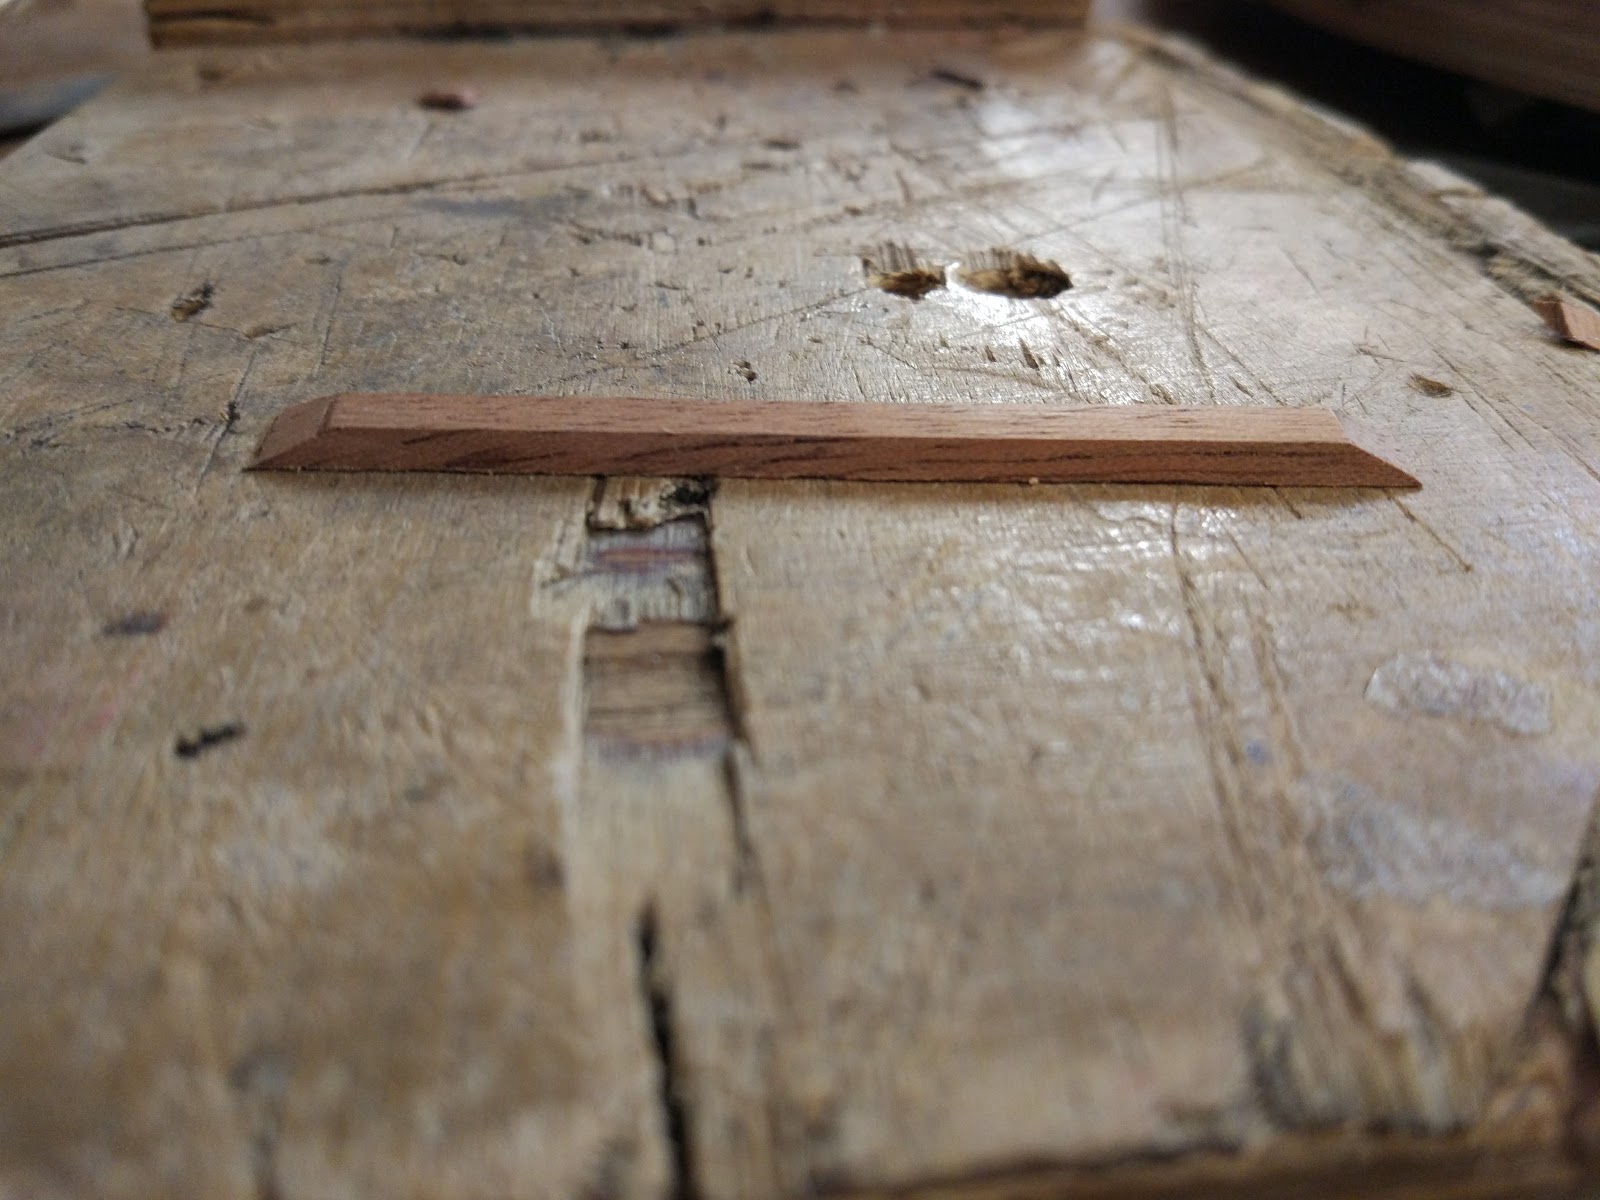
I started work on cutting the lattice to join the peices.


Day 13 - Fitting the rosette, cutting the soundboard, and measuring the braces


I traced the mold onto the soundboard and cut it out on the band saw, leaving a gap outside the line of about 10mm.


I cut notches in the top and tail of the soundboard to mark the edges.


I passed the soundboard through the thinning machine to clean it up


I marked where the sound hole will be, having taken measurements from the guitar plans.


I drilled the center hole. But I made a mistake and was slightly off-center.


I filled the hole with epoxy so I could re-drill it again.


I traced the inside of the kerfing onto the soundboard so that I could mark where the bracing would end


I drew the lattice bracing pattern onto the sound board.


I cut a trench in the soundboard for the rosette, using a circle cutting jig on the drill press.


I fitted the rosette into the trench, glued it, and clamped it.


I measured the lengths of the braces and marked them on the sound board.


Tuesday 28 March 2017

Day 12 - Cutting the rosette, joining the soundboard halves, and attaching the twiglet struts


I marked the sides of the guitar with chalk along the edges then sanded down the kerfing until the chalk was sanded off, leaving a smooth, even edge. I repeated this for top and bottom of the guitar.


 I drilled a hole in the middle of the plywood that the rosette is attached to.


I cut concentric circles in the rosette with a dremel.


I attached the sound board to a shooting board and planed the edge. I repeated this for both soundboard pieces.


I glued the two halves together in a press and used weights to help keep it all flat.


I measured the twiglet struts and cut them to length with a chisel.


I cut the edges of the twiglet struts at an angle.


I glued the twiglet struts to the inside of the guitar.


Monday 20 March 2017

Day 11 - Sanding the sides and gluing the kerfing


I sanded the insides of the sides.


I clamped the sides to the mold with expanding clamps.


I marked the edges of the sides with chalk.


I sanded the edges on a radiused disk until all the chalk was gone and then repeated for the other side. It took about 30-40 minutes of sanding per side.


I cut the kerfing to size and put glue on it and clamped it to the sides.


I put the rosette through the thinning machine


I mixed some rosewood sawdust into clear epoxy.


I pushed the sawdust and epoxy mix into the gaps between the rosette pieces using a toothpick and an air compressor.


When the epoxy had dried, I passed the rosette through the thinning machine again.