Saturday 22 April 2017

Day 18 - Cutting the sound hole, carving the harmonic bars, and sanding the lattice

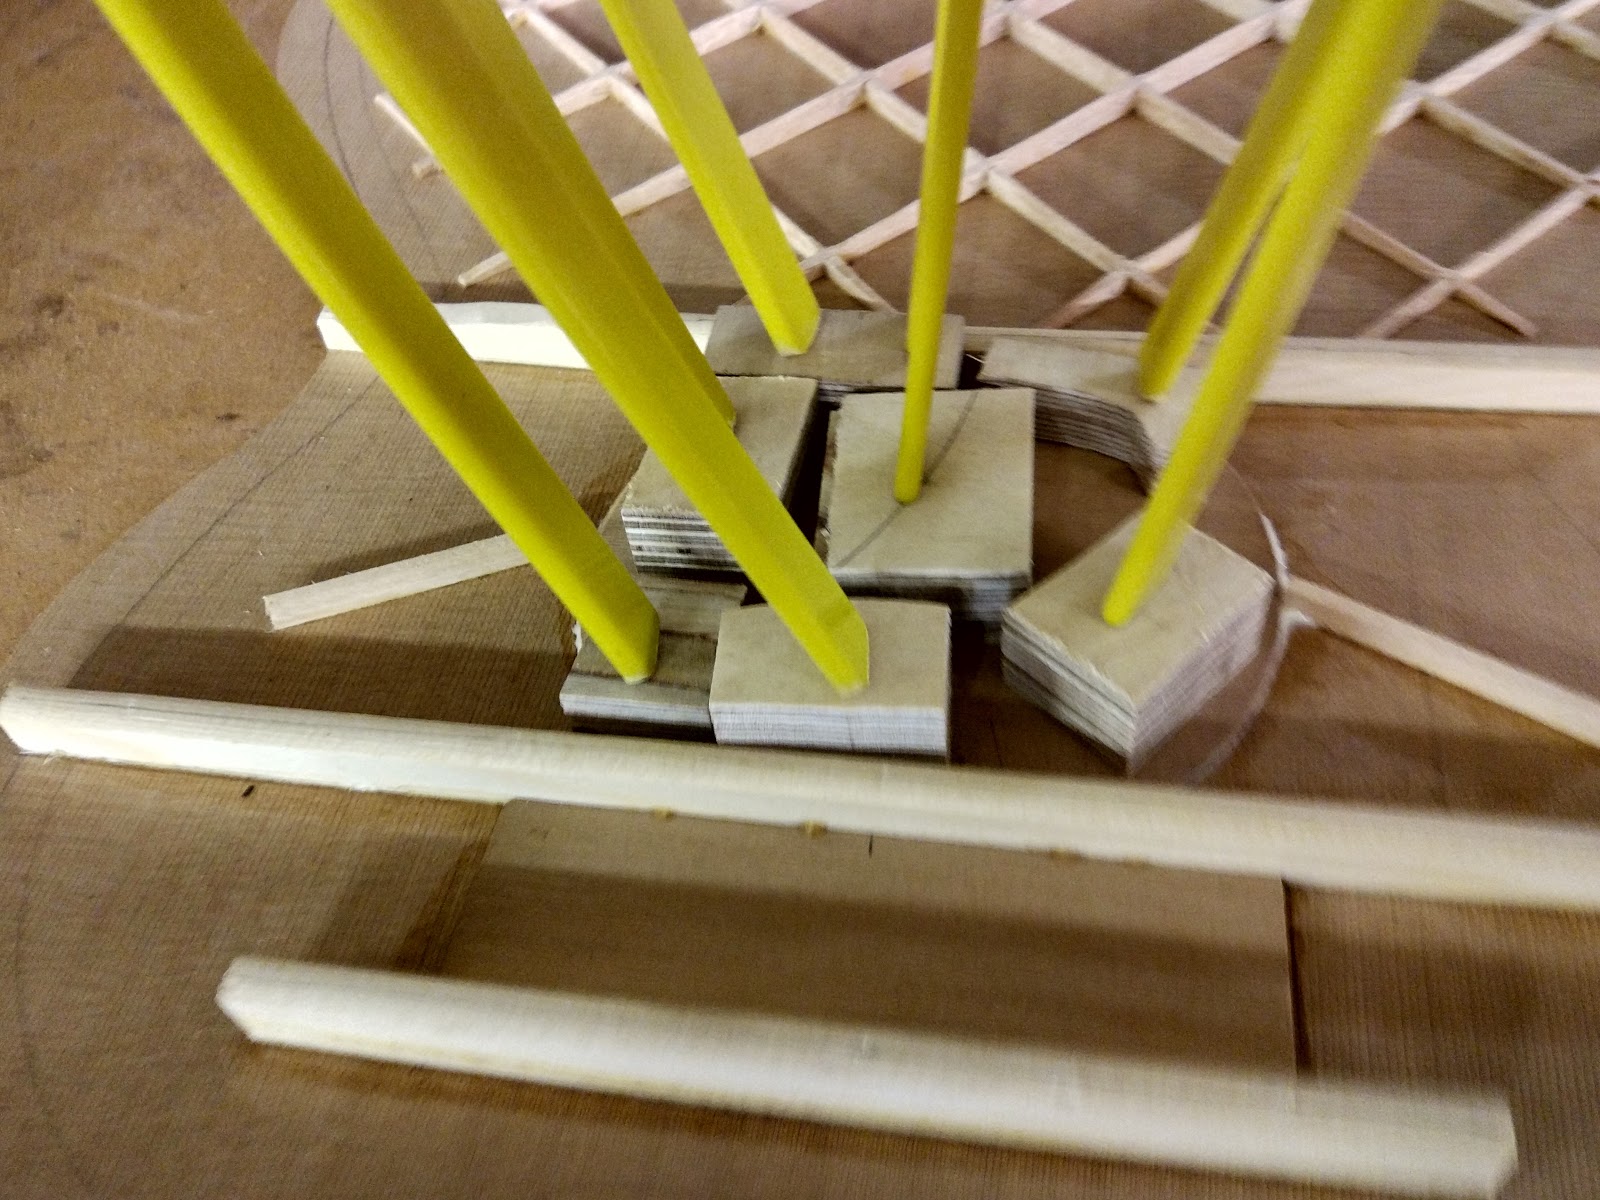
I cut a piece of plywood to fit under where the sound hole would go.


I drilled thought the sound board into the plywood.


I cut the sound hole with a dremmel. The plywood gave the anchor for the dremmel additional depth for stability.


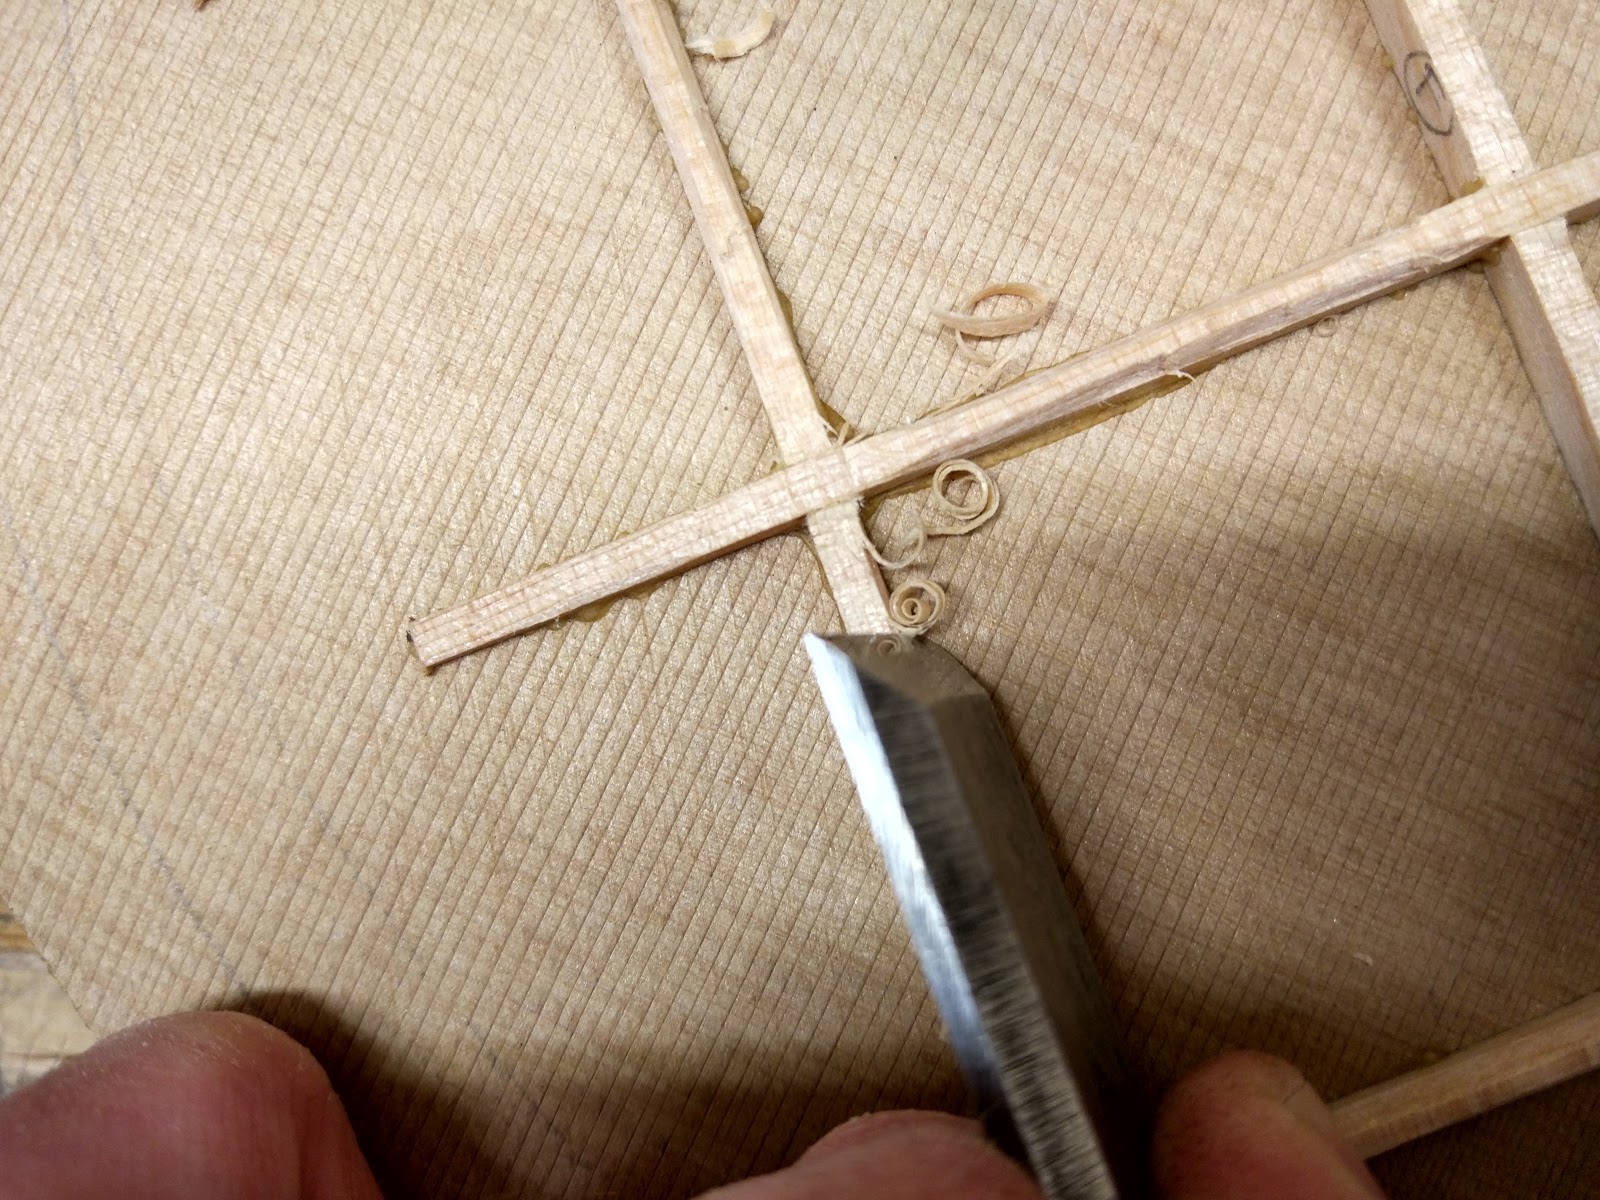
I carved the harmonic bars with a chisel.


I sanded the lattice bracing.


I revisited the back braces to carve the edges down further. 


I cut channels in the sides for the back braces to go.


I carved the channels until all the back could sit tight against the sides.


Friday 21 April 2017

Day 17 - Carving the lattice bracing

I carved the lattice so that it thins out towards the edges using a chisel and a small plane. 


I thinned the tops of the lattice bracing with a chisel.


I used an electric nail file to clean up the edges and remove any remaining shavings. 


I remade the sound hole strengthening piece to be a better fit. 


I glued the strengthening piece to the soundboard. 


Sunday 9 April 2017

Day 16 - Glue lattice to soundboard and make remaining soundboard braces


I cut a piece of 5mm plywood the same size as the lattice.


I marked out the lattice on the plywood so that when i glued it I would be able to see where the pressure should be applied.


I glued the lattice to the soundboard in the go deck, using the plywood to protect the lattice.


I made the harmonic bar braces using the disk sander and the radiused sanding board.


I planed the braces to 7mm thick.


I measured and traced the positions of the braces on the soundboard.


I made the strengthening piece for under the fretboard.


I glued the remaining braces to the soundboard.


Friday 7 April 2017

Day 15 - Thinning the soundboard and finish building the lattice


I thinned the soundboard to 2.7mm.


I finished cutting the grooves to fit the lattice pieces together.


I glued the lattice pieces together.


I marked the lattice with chalk.


I sanded the chalk away until it was all clear, meaning that the edges were smooth and matched the radius of the 25-foot radiused sanding board.


I marked the dimensions for the strengthening piece for the sound hole.


I cut the inside hole on the drill press.


I roughly cut the outside on the band saw.


I finished the outside of the strengthening piece on the disk sander.


I marked the edges of the guitar on the soundboard as well as the inside border of the kerfing.