Saturday 20 May 2017

Day 20 - Flush routing and making the end graft


I removed the clamps from the guitar.


I inserted small pieces of wood into the grooves where the sides meet so that the router bearing can run smoothly over the joins.


I sanded the inserts smooth.


I routed the soundboard edges so they would be flush with the sides.


I routed the back edges so it would also be flush with the sides.


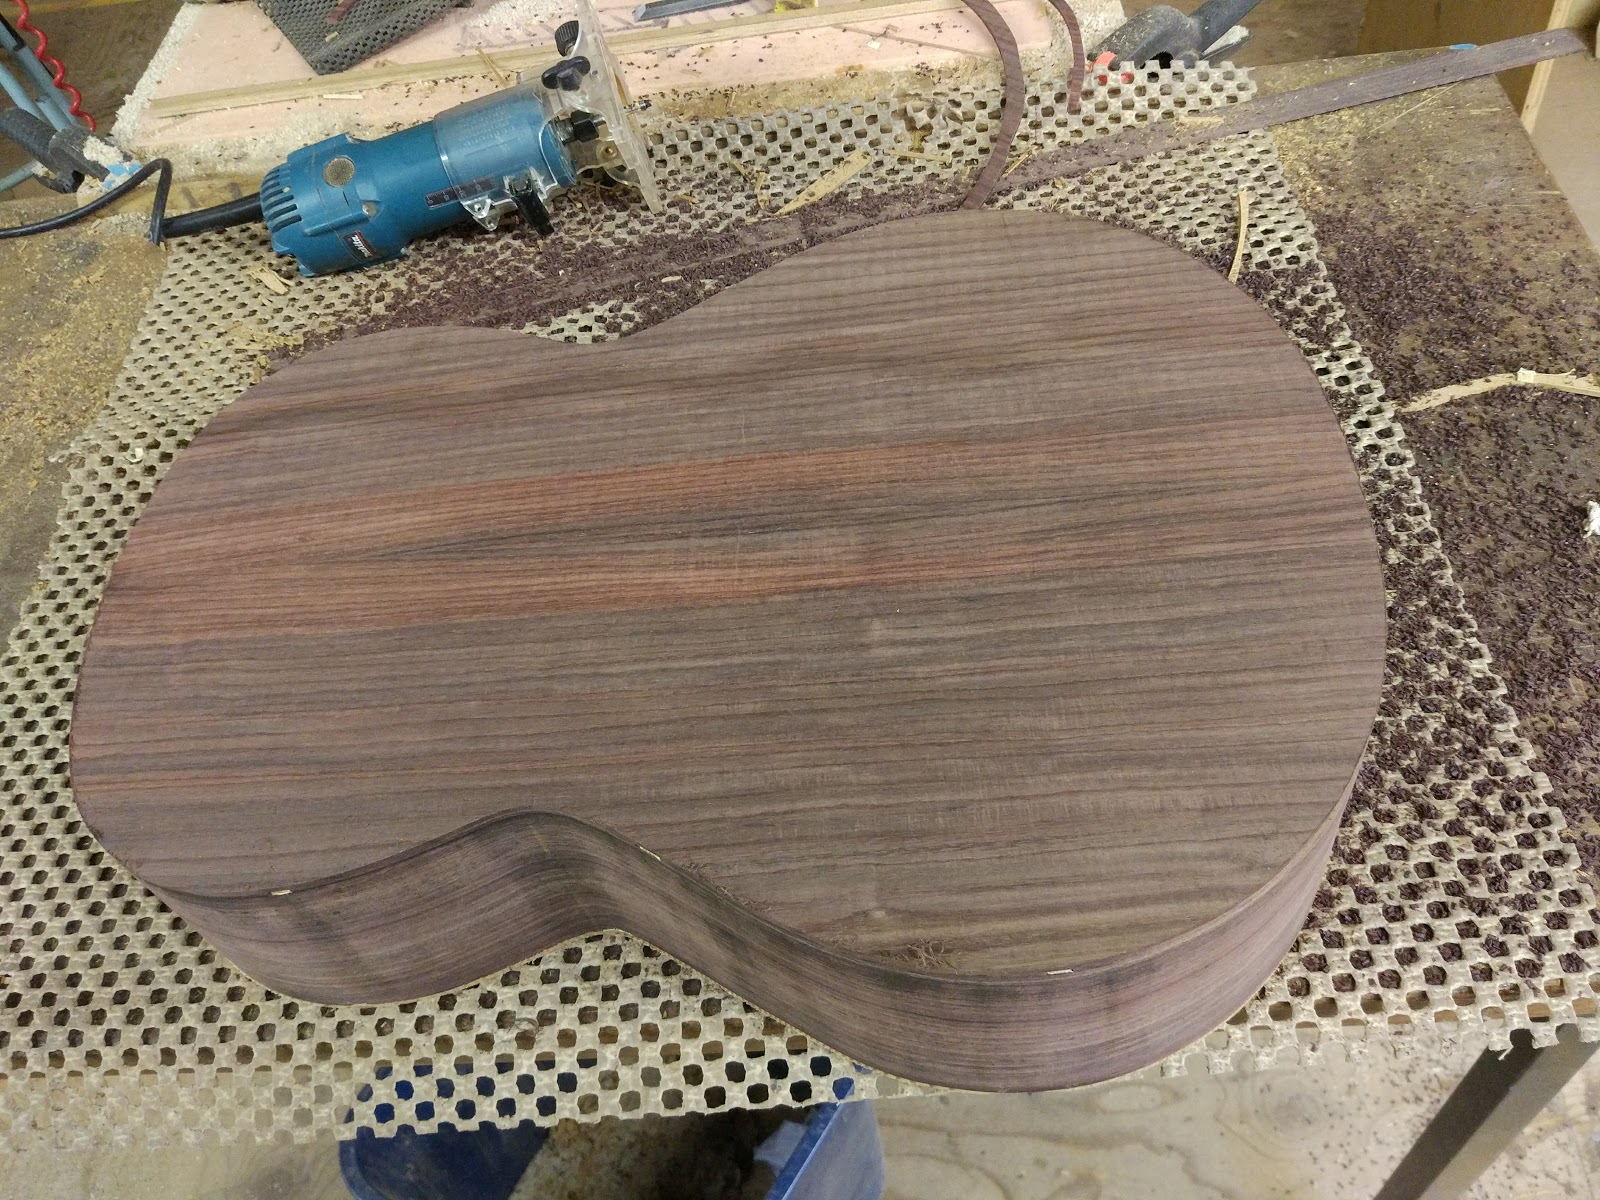
I placed an offset bearing on the router so as to cut a groove around the edges of the guitar.


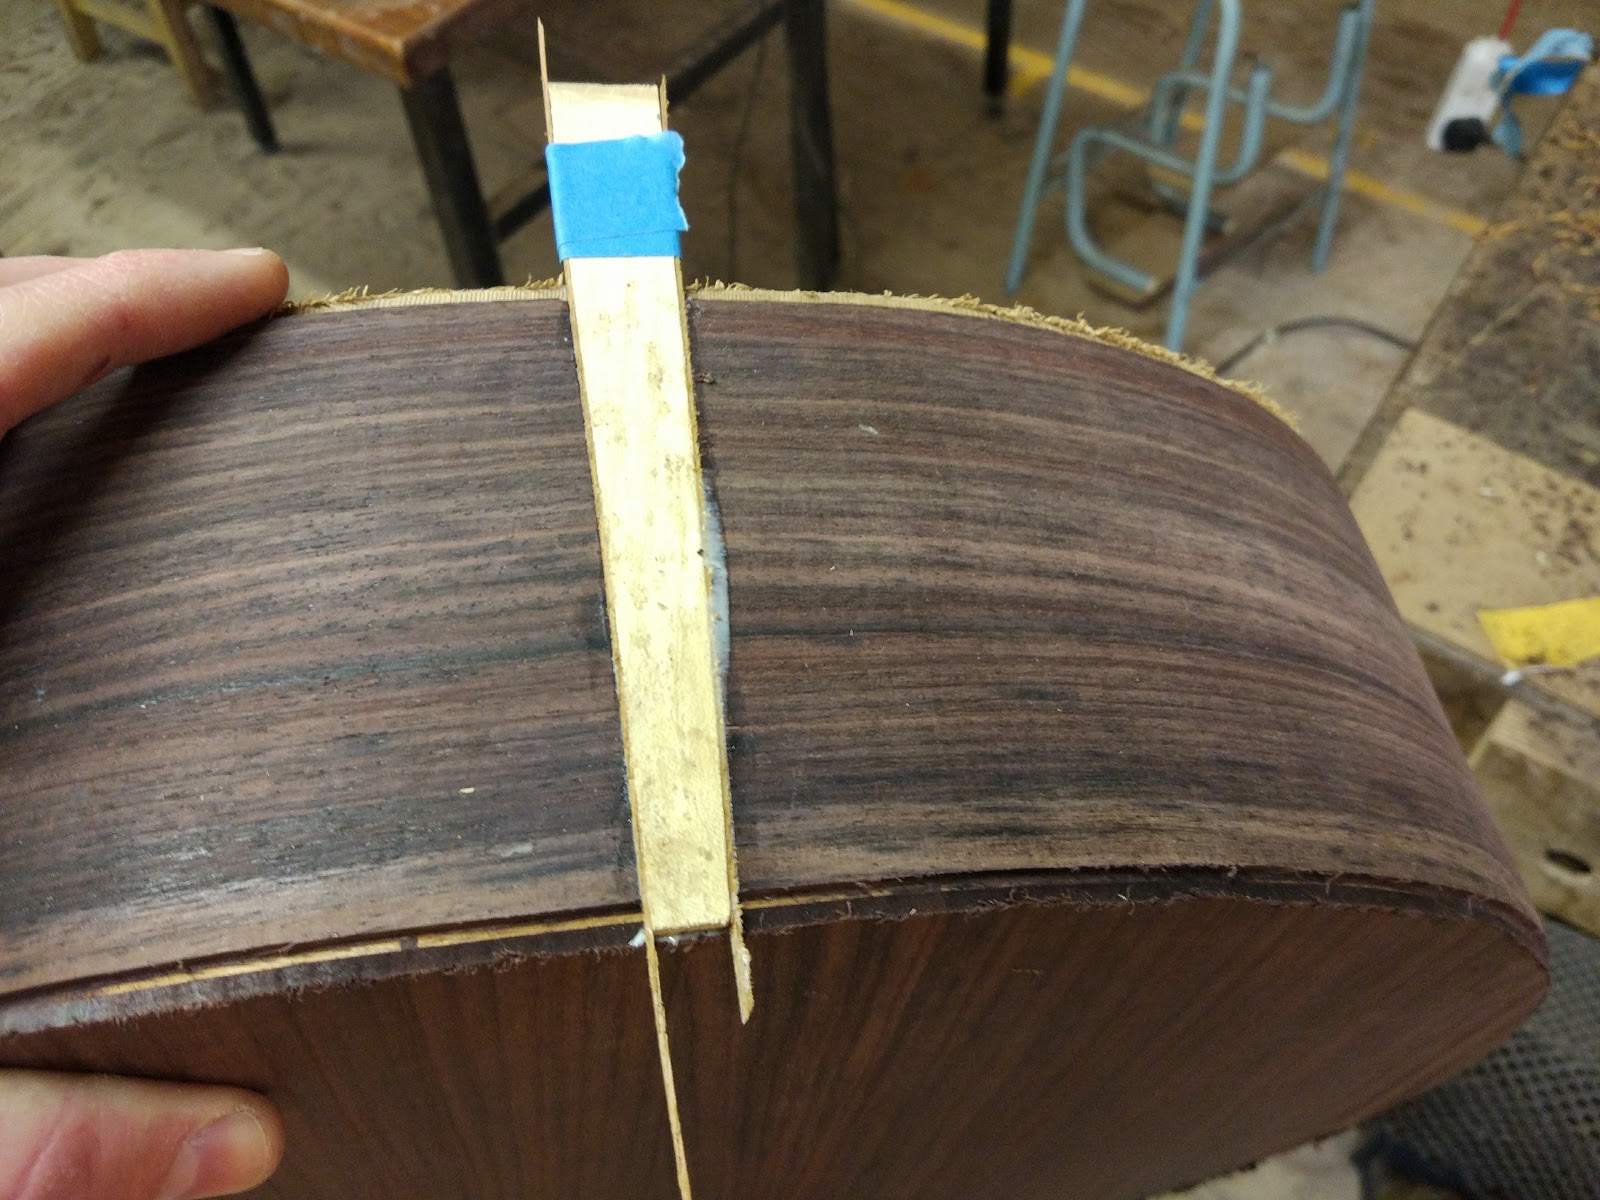
I drew lines where I wanted the end graft to be.


I measured and cut a piece of maple.


I used a straight edge to prevent the saw from slipping as I cut grooves.


I chiselled out the end graft.


I checked the fit of the maple with mahogany perfling.


I glued the maple and mahogany into place.


Saturday 13 May 2017

Day 19 - Make bridge caul and close the box

I cut squares from plywood to fit into the lattice


I glued a single piece of plywood to the squares.


I measured a rough size of a classical guitar bridge onto the plywood and cut the caul to size on the band saw.


I thinned the caul so that it would be able to fit into the guitar through the sound hole.


I sanded a radius into the caul to match the radius of the sound board.


The bridge caul will be used later when I need to glue on the bridge so I will have something on the inside of the guitar to clamp the bridge to.

I marked where to cut channels in the sides for the top to attach and cut the channels so that the top would fit flush with the sides.


I glued the kerfing on both sides and clamped the top and back to the sides.