Friday 24 February 2017

Day 5 - Finish cutting the mold and shaping the back braces

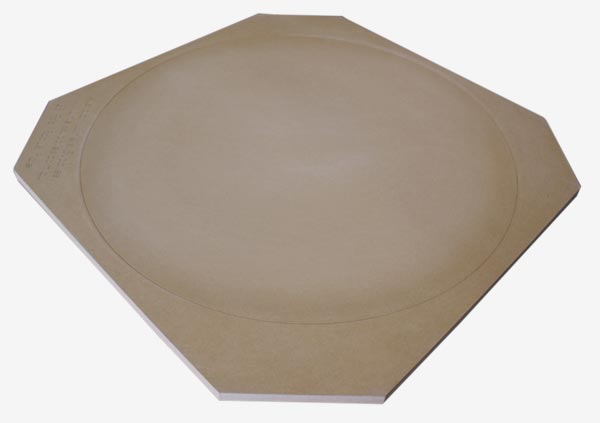
I finished cutting the copies of the master mold template on the table router.
I lined up 3 pieces using a try square ruler.


I when I was sure that they were aligned correctly, I clamped them together.


I drilled pilot holes through the pieces and countersunk them and then screwed them together.
I sanded the joined pieces lightly to ensure that the joints were totally smooth on the inside.


I repeated this process to create the second half of the mold.


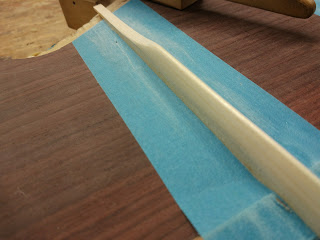
I finished shaping the back braces with a chisel.


I sanded the back braces to smoothen out the chisel marks.


Friday 17 February 2017

Day 4 - Start cutting the mold pieces

I sanded the inside of the master template with a curved sanding block to ensure that that there are no bumps. This will allow for maximum surface contact with the sides of the guitar.


I drilled pilot holes in the master template.


I countersunk the pilot holes and screwed the master template to the first copy.


I cut the copy using a template bit on a table router. 


I completed more work on the back braces. 


Thursday 16 February 2017

Day 3 - more work on the mold

I clamped the plywood mold template I made on day 1 to a sheet of plywood.
I cut a grove into the plywood sheet by tracing around the template with a handheld router.
I traced around the template with a pencil, flush with the template.
I cut out the inside of the traced line with a jigsaw, leaving a couple of millimetres to spare.
I chiselled off the inside part of the plywood next to the groove so that the groove ran right to the inside edge of the plywood.


I used a router with a template bit to smooth the inside edge. The bearing on the router bit ran along the inside edge of the groove.


I checked that the newly cut edge fit my original template.


I cut the outside edge of the plywood to roughly follow the inside shape and then sanded the outside edge.
I traced 5 copies with a pencil on a sheet of plywood.


I cut these copies using a jigsaw and a bandsaw.


I started work on chiselling the back braces.


Day 2 - Adding the back braces

I measured where the back braces should go and used a chisel to cut notches in the centre seam.
I shaped the braces by sanding them on a radius dish covered with sandpaper.


I thinned the braces to 6.5mm with a hand plane.


I attached the braces to the back and applied pressure using a go deck without glue. At this point I realised that I had made a mistake - my sanded surface was not sanded to a perfect 90 degree angle. That's why it was important to first attach without glue - too test for this. It was too late for me to sand it any further because I would then have made my braces too thin so I had to start the braces all over again from scratch.

The second time round was just right, so after another dry run, I glued the braces to the back and applied pressure in the go deck, leaving them to dry.


Day 1 - Starting the mold and the back

I cut out half of the back from the plans with a scalpel.
I traced the outline onto a piece of plywood
I cut the plywood with a jigsaw.


I smoothed the edges with a spindle sander and a disk sander and then checked that it matched the plans.


I used this as a template to draw the outline on the back wood.
I cut around the outline about 12mm outside the line.


I glued on the centre seam and clamped it down against a piece of curved wood.