Saturday 19 August 2017

Day 32 - Inserting fret markers, shaping frets, and final sanding.

I measured and marked the fret marker locations and then created indentations with a brad point.


I drilled the holes for the fret markers.


I inserted and glued the fret markets and then sanded then smooth.


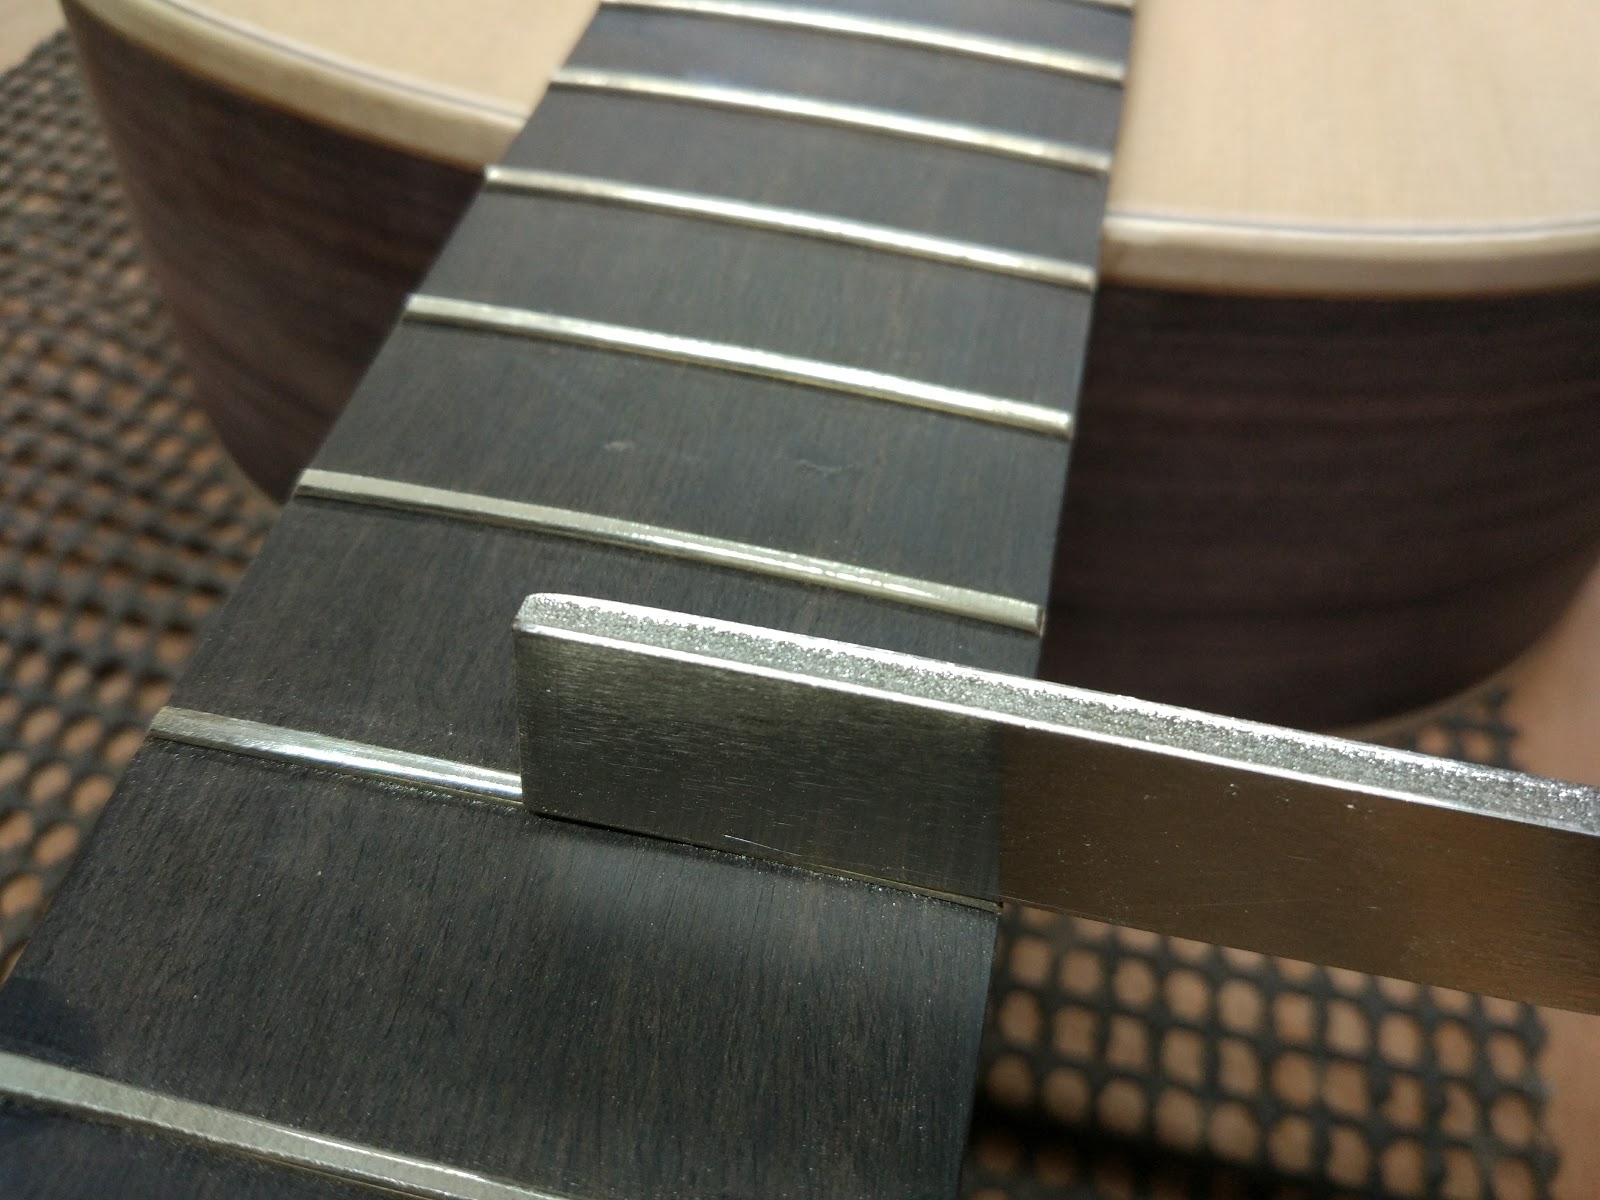
I filed the frets with a fret-crowning file until they had a rounded, curved top.


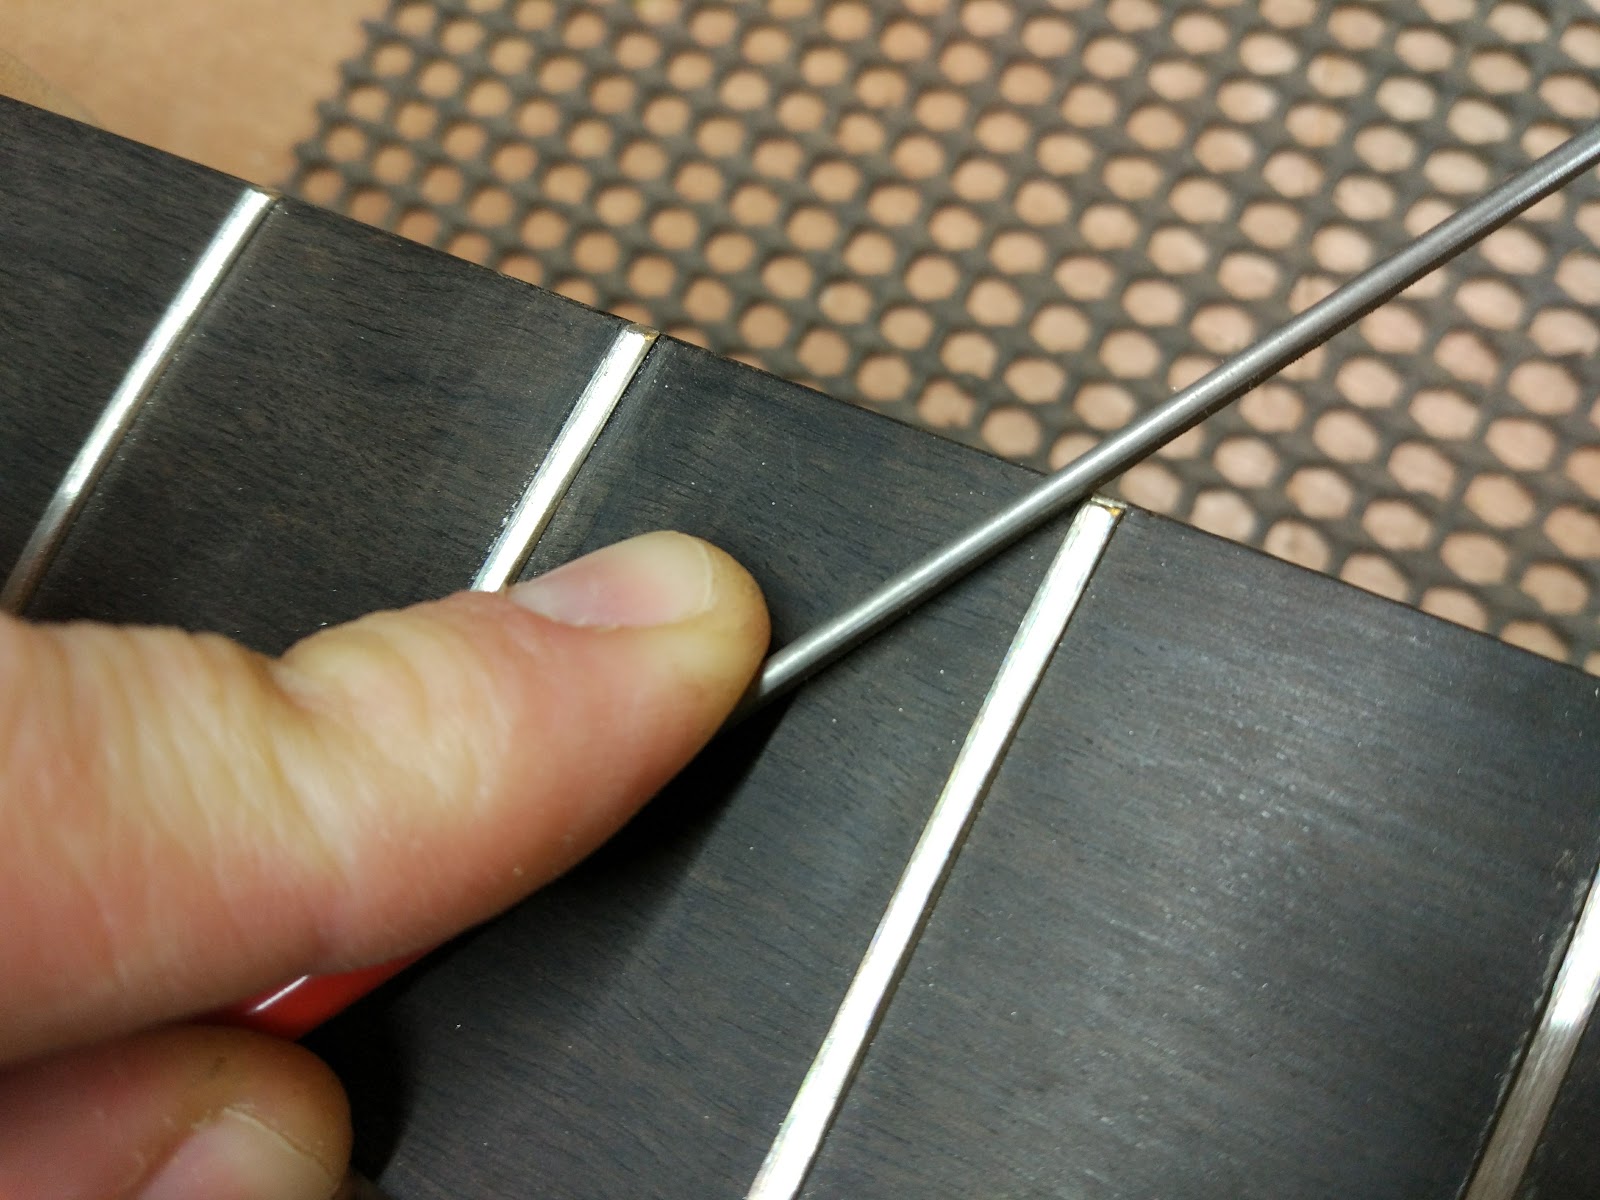
I filed the ends of the frets to make them smooth.


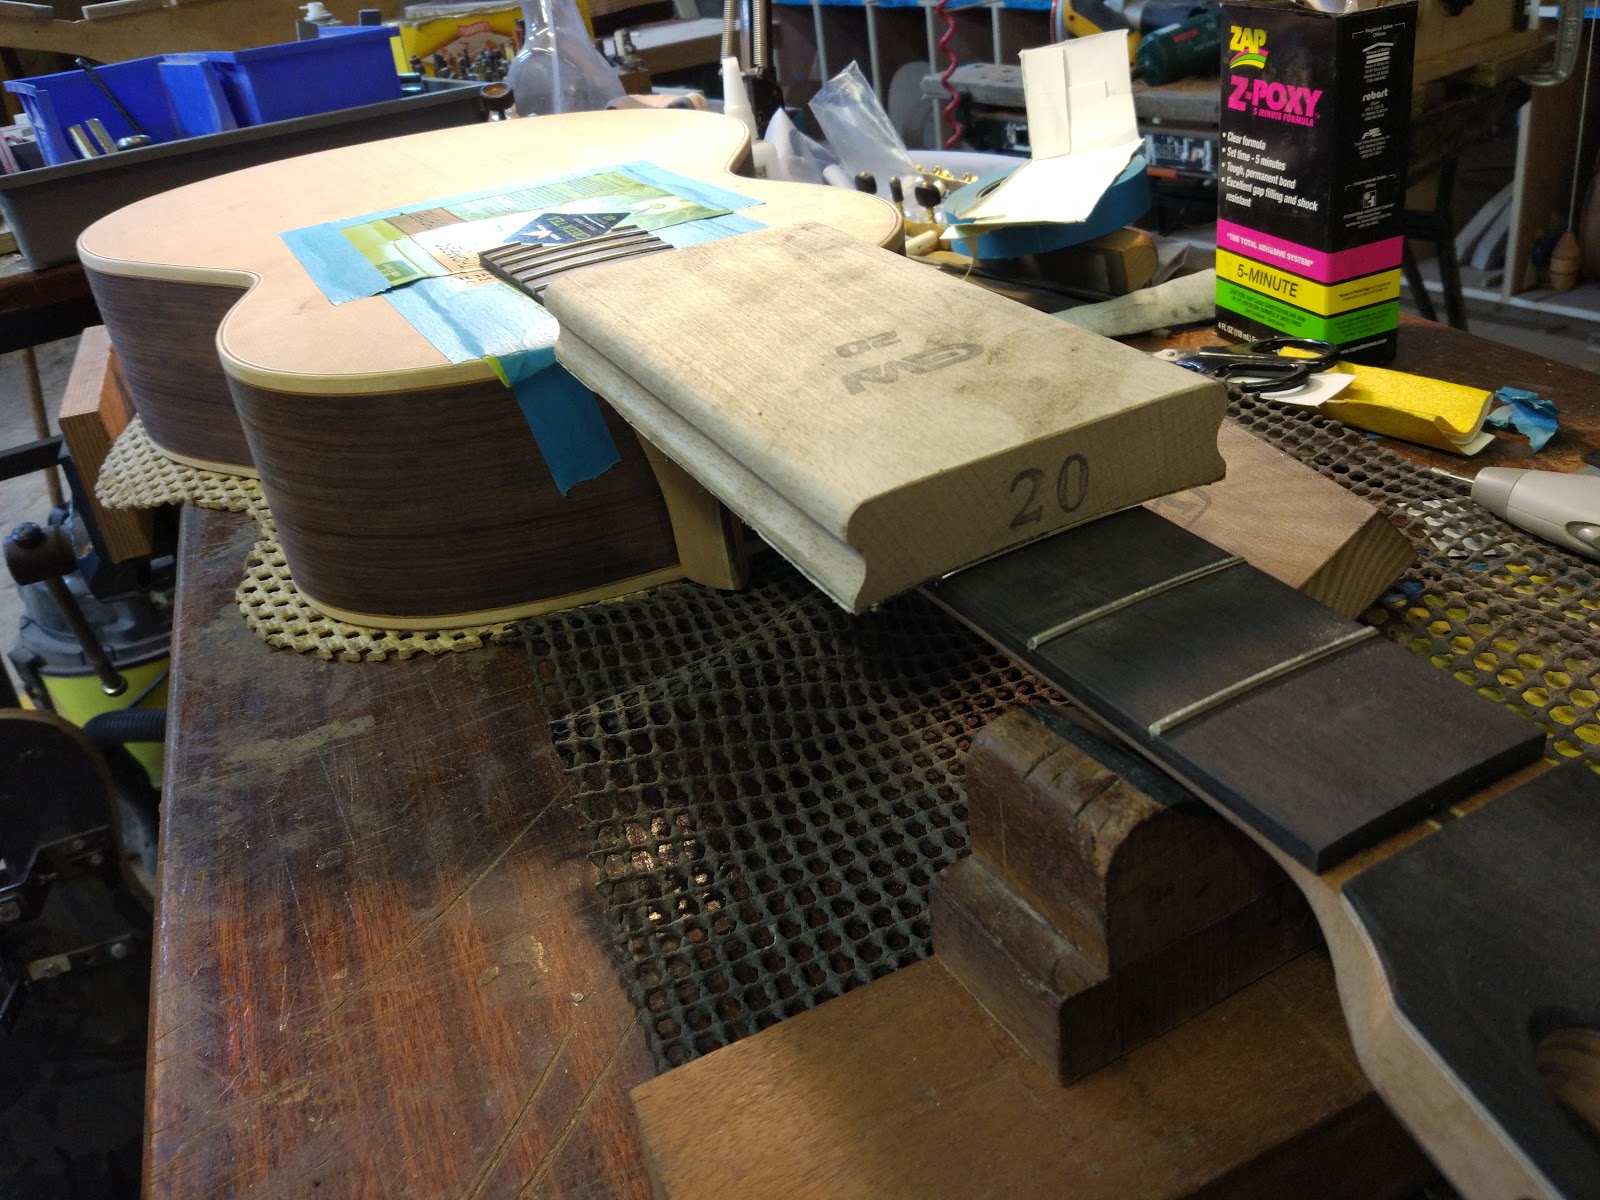
I filled the joint between the heel cap and the body with epoxy.


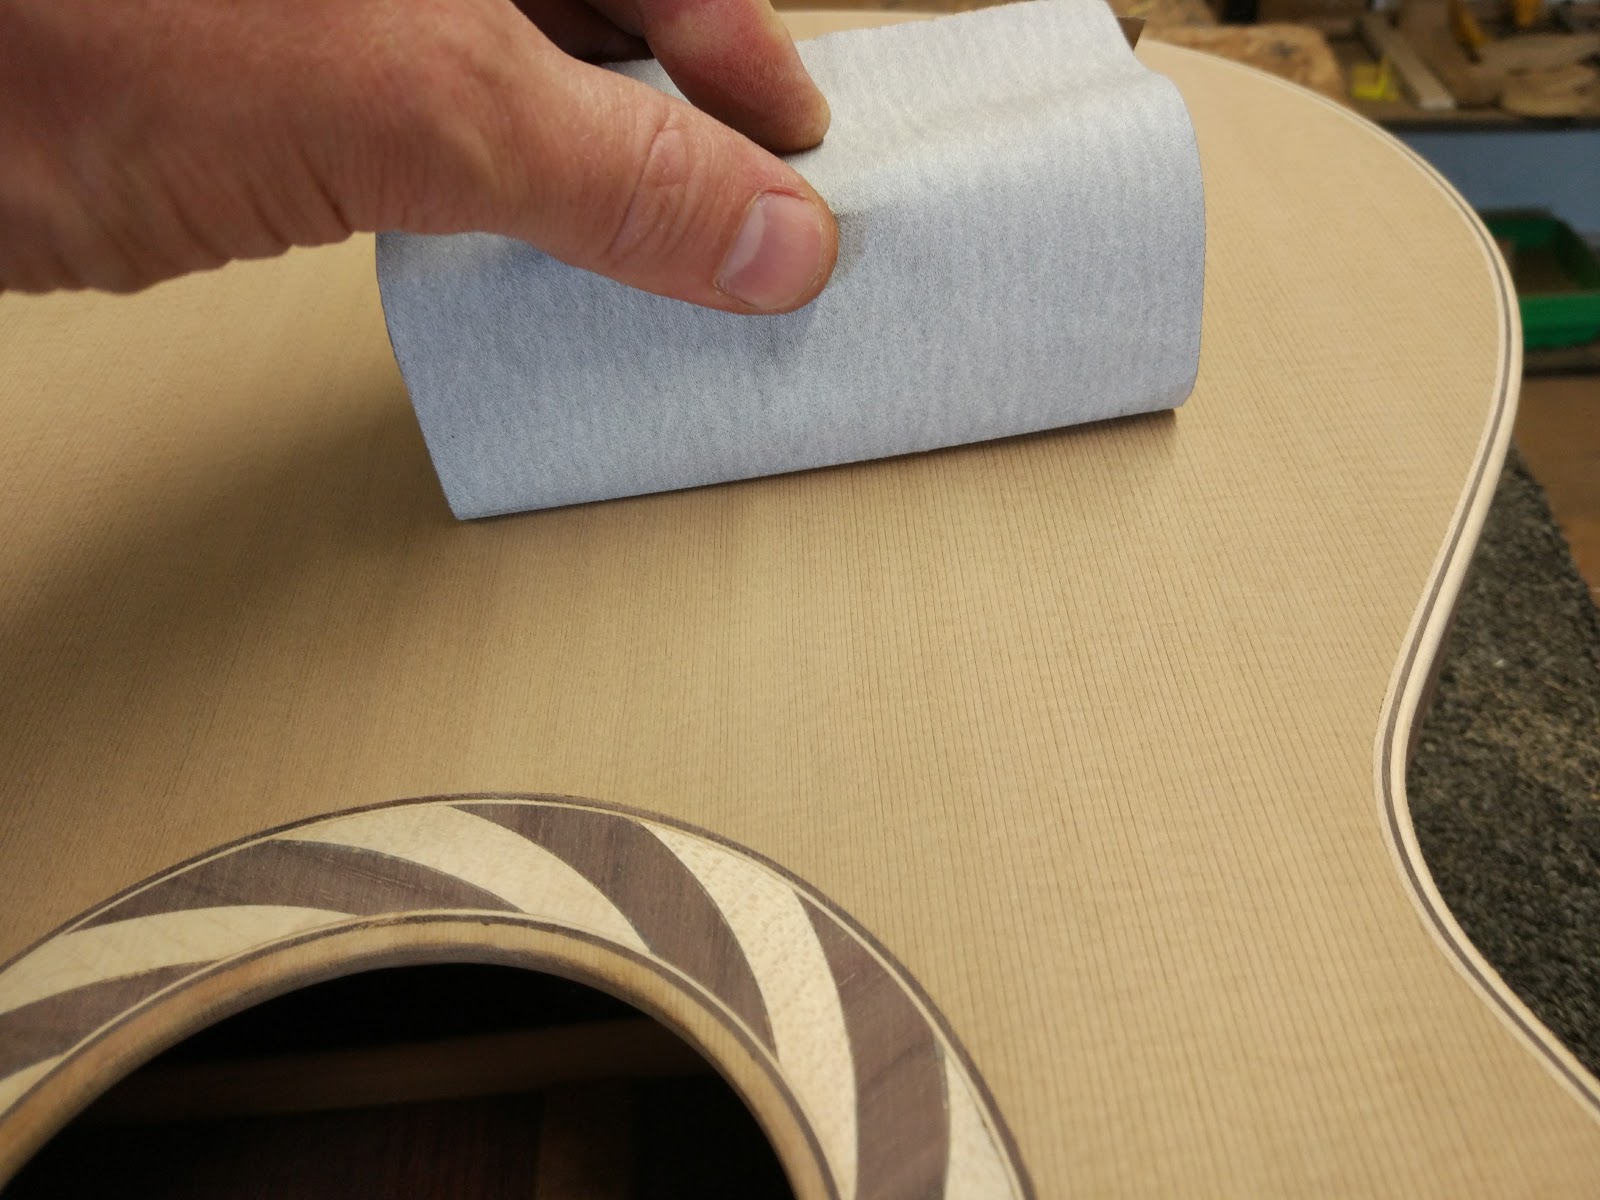
I sanded the whole guitar down in incremental stages from 80, 120, 180, 240, and 320-grained sand-paper.


Saturday 12 August 2017

Day 31 - Cutting the sound port and filing the headstock

I glued the heel cap to the bottom of the heel.


I shaped the headstock so that the strings will not touch the wood between the nut and the tuning keys.


I created a cardboard template for where the sound port will go.


I dried holes to create a rough cut of the sound port.


I smoothed the sound port with a drum sander attached to a drill.


Bonus! I can see inside the guitar through the sound port.


There was a small gap between the side and the binding so I filled this with epoxy and rosewood dust.


I filled the gaps under the frets with epoxy and ebony dust.


Tuesday 1 August 2017

Day 30 - Filing the frets and some cleanup tasks

I carved the neck further back to allow for easier access to the upper frets.


I sanded the bevel on the headstock to make it cleaner. 


I filed the edges of the frets to make them sit flush with the edge of the fretboard. 


I filed a bevel into the edges of the frets.


I filed the tops of the frets with a 20 inch radiused sanding block to make all the frets sit at an even height.


I started cutting the heel down, ready to attach the heel cap.