Tuesday, 25 July 2017

Day 29 - Adding a radius to the fretboard and fitting the frets

I put chalk on the fretboard before sanding so that I would be able to see when the radius is complete and then I sanded the fretboard with a 20-inch-radiused sanding block.


I smoothed the fretboard with finer sandpaper.


I filed a bevel into the fret grooves to make it easier to fit the fret wire into the grooves.


I measured and cut sections of fret wire.


I hammered in the frets and clipped off the excess fret wire.


I used a heavy clamp to reduce vibrations when hammering in the upper frets.


Friday, 21 July 2017

Day 28 - Joining the neck and body together and making the arm rest

I drew the shape of where the fretboard meets the sound hole, allowing for a 20th fret.


I cut and sanded the end of the fretboard.


I sanded underneath the fretboard so that it fit perfectly against the body.


I temporarily fitted the machine heads to ensure good fit. I little extra drilling was required.


I glued and clamped the neck to the body.


I finished shaping the heel cap.


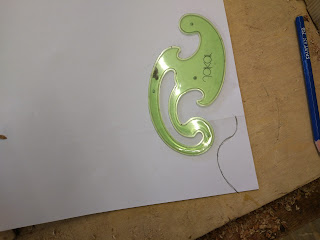
I cut out the shape of the arm rest.


I cut away the underneath of the arm rest with the plane.


I shaped the arm rest with the disk sander.


Wednesday, 19 July 2017

Day 27 - Work on the neck and headstock

I scraped and sanded the neck to finish and smooth it.


I thinned and bent a piece of rosewood to fit the back of the headstock.


I glued the rosewood to the back of the headstock.


I chiselled and sanded it to shape.


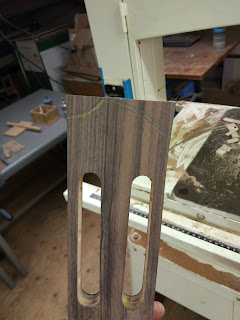
I routed the rosewood to clear the holes.


I made plywood pieces to fit inside the holes to prevent splintering the wood when drilling the machine head holes.


I measured and drilled the holes for the machine heads.


I drew the outline of the top of the headstock and cut it on the band saw.


I removed excess wood and created the basic shape using a hand-held belt sander.


I chiselled the inside of the neck joint to fit flush with the body.


I rounded the edges of the body with sandpaper.