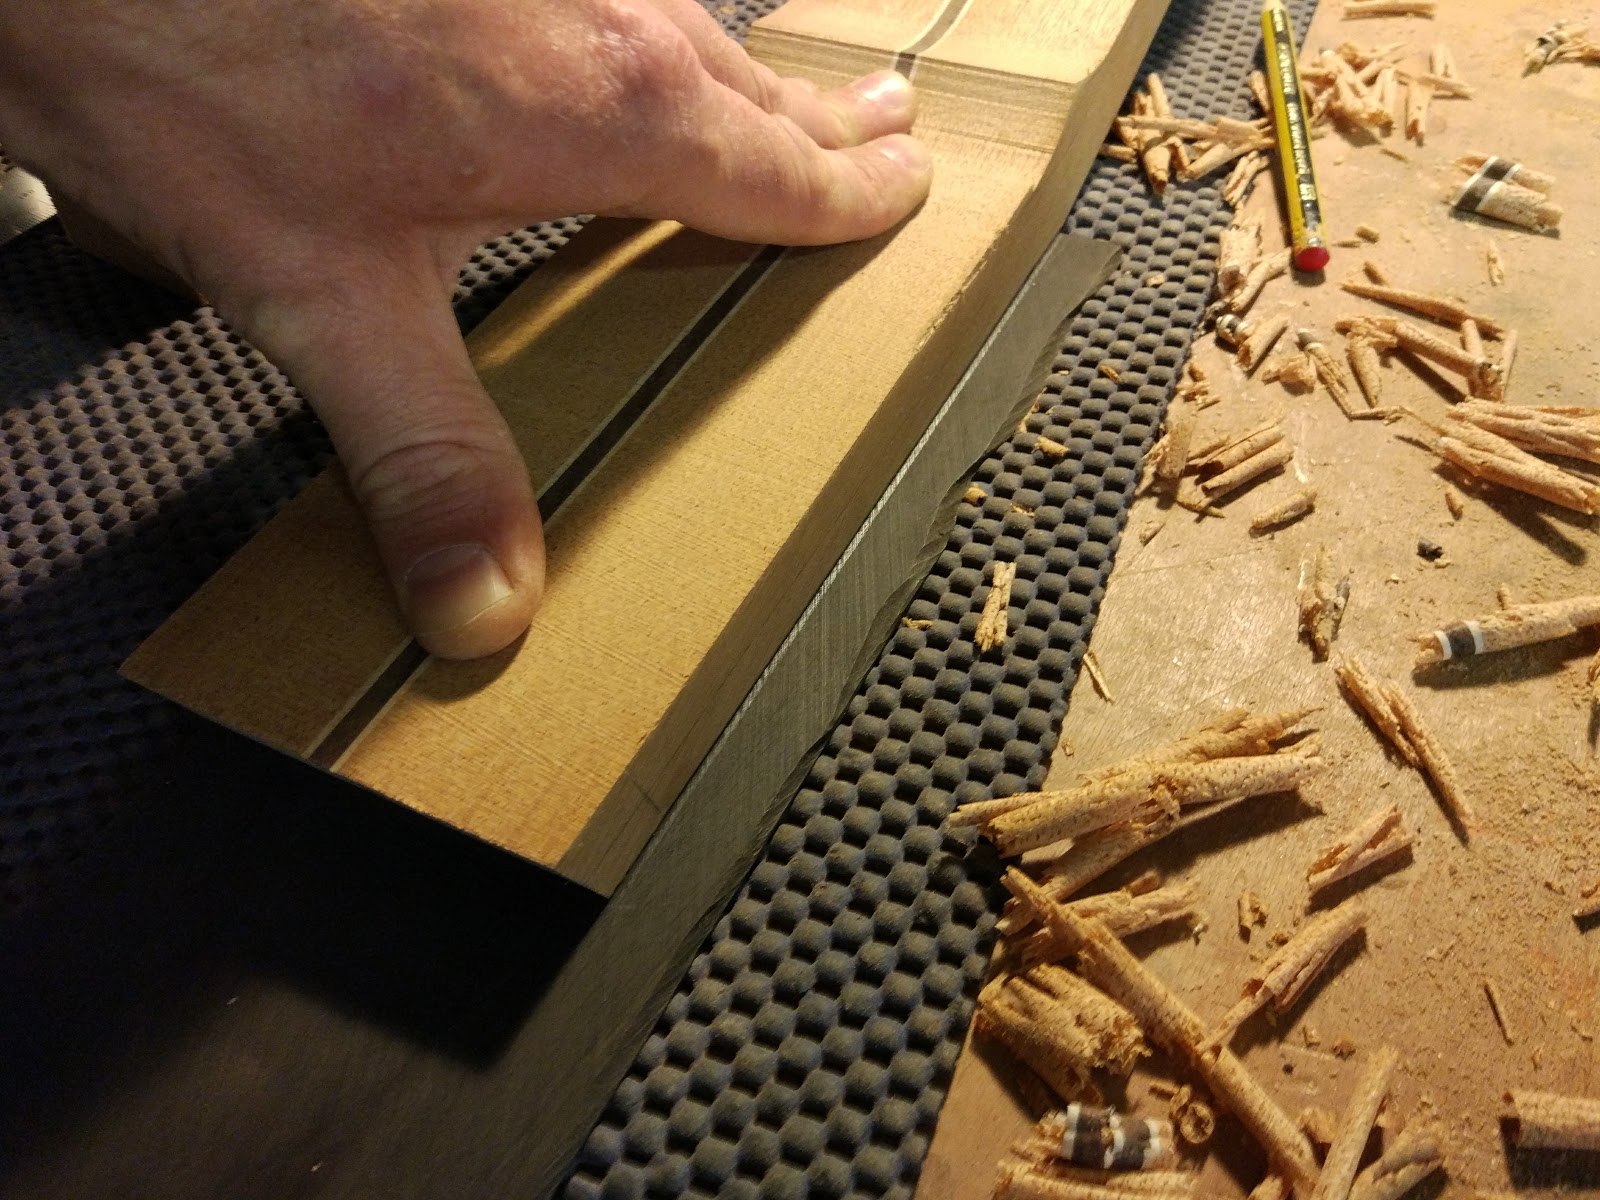
I planed the headstock to make it flat


I sanded the headstock to make it smooth and to remove any creases from the planing.

I measured and marked the points on the neck for the 12th fret and for the edge, leaving space for the dovetail joint.

I checked the measurements against the pre-slotted fretboard.

I cut the end of the neck.

I placed a toothpick under the neck, near the headstock and sanded the edge flat. The toothpick has a 2mm diameter, this will create a slight downward angle for the neck when it will be fitted against the body

I traced around the headstock onto a piece of flat ebony.
I cut the ebony on the band saw.

I traced the outline of the ebony onto thin sheets of light and dark wood and cut these on the band saw.

These will be laminated together onto the headstock.

I glued the thin sheets of wood together.


I positioned the fretboard on the neck and used a try square to ensure that the positioning was correct.

I positioned a fretboard template on top and taped it all to the neck to hold it in place.

I drilled 2mm holes through the fretboard and into the neck.

I inserted toothpicks into the holes to hold the fretboard in position.


